 Save to Pinterest
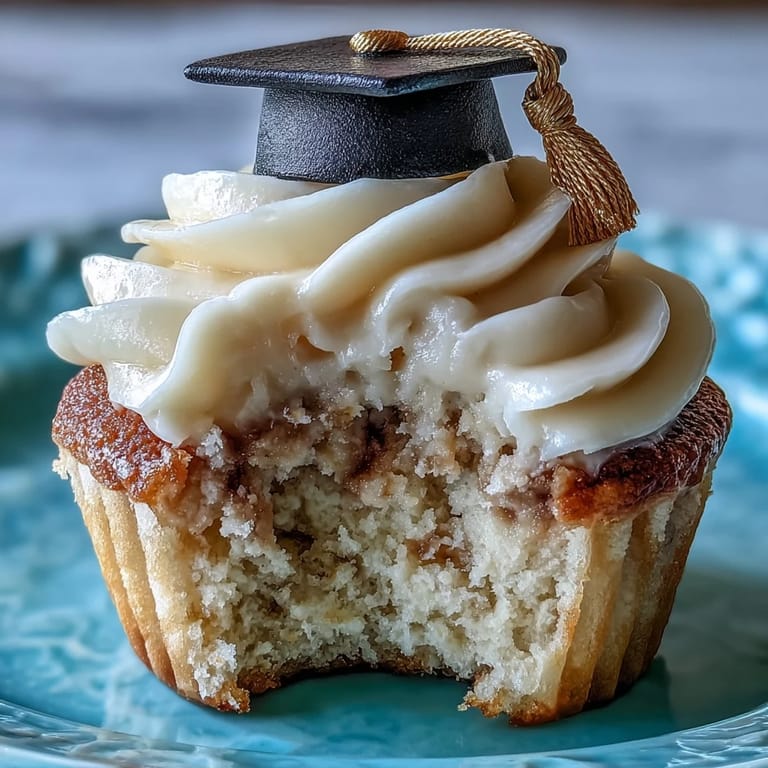
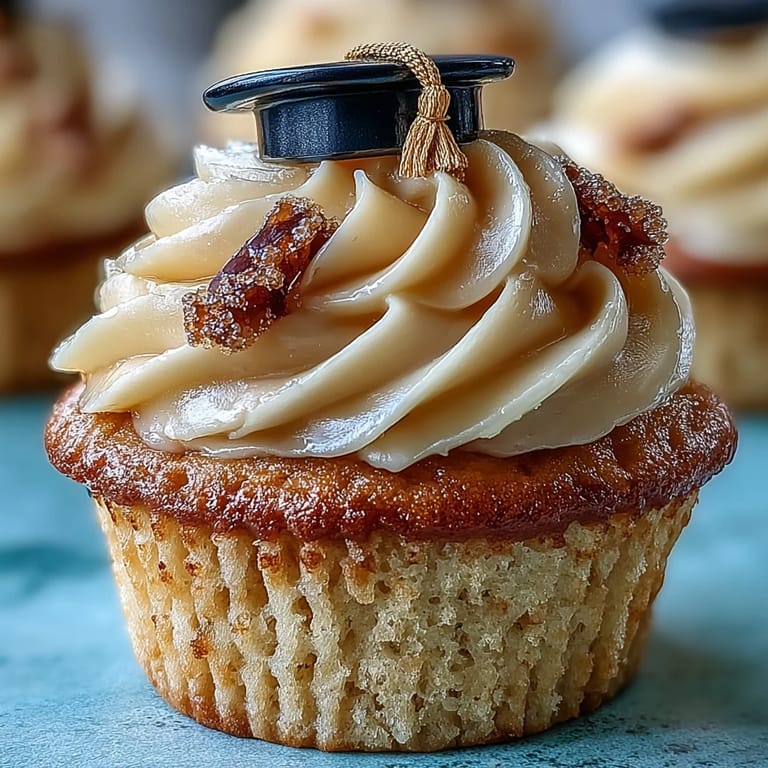
 When I close my eyes and remember last spring, I can almost smell the sweet vanilla cake wafting through the kitchen as I carefully shaped miniature mortarboards out of black fondant. I wasn't trying to be overly sentimental; I just wanted my cousin's graduation treat to feel special and cheerful, as if tiny edible hats could carry some of our excitement for her. It wasn't the first time I'd played with fondant, but seeing those cupcakes lined up, golden tassels gleaming, made the effort worthwhile. The laughter in our kitchen that afternoon came from all ages, and even the most serious uncle couldn’t help but grin when he plucked a cap off his cake. Moments like these are the real reason this recipe has become my default for every graduation season.
One late May afternoon, I invited my neighbor's kid and her friends over to decorate a fresh batch of these cupcakes. Watching their faces as they transformed plain cakes into celebratory masterpieces reminded me that food can turn any kitchen into a stage for creativity. The best part was the gold dust getting everywhere—on caps, on hands, and somehow even on the family dog. It was pure, joyful chaos you can't plan. In the end, the pride they felt in their own edible creations eclipsed even the excitement of graduation itself.
Ingredients
- All-purpose flour: Use a kitchen scale for accuracy—too much and the cupcakes can turn out dry rather than fluffy.
- Baking powder: Whisk it into the flour to make sure the batter rises evenly and you don’t end up with surprises mid-bake.
- Salt: Just a pinch, but don’t skip it; it brightens all the other flavors even in sweet bakes.
- Unsalted butter (for both cake and frosting): Let it soften first, which helps both the batter and frosting whip up creamy and smooth.
- Granulated sugar: Creaming it properly with the butter sets the cupcakes up for a light texture that feels special with every bite.
- Eggs: Take them out ahead of time so they mix seamlessly into the batter and the cupcakes rise nicely.
- Vanilla extract: Don’t skimp; it’s the heart of the cupcake’s flavor profile and brings bakery-style aroma.
- Whole milk: Room temperature works best—it keeps the batter from seizing and combines smoothly with everything else.
- Powdered sugar: Sift it for the frosting if you want to avoid lumps (and who doesn't?).
- Milk (for frosting): Adjust a tiny bit at a time; a few drops too many can make the buttercream too loose.
- Pinch of salt (for frosting): Unexpected, but it cuts through the sweetness for a balanced finish.
- Black fondant: Store-bought is easiest, but knead it well to avoid cracks as you shape the caps.
- Gold fondant: A little goes a long way—a trick I learned after my first batch looked more like yellow than gold.
- Edible gold dust (optional): This takes the caps from fun to fabulous; I use a small brush to gently sweep some shine just before serving.
- Cornstarch: Dusting your work surface prevents the fondant from becoming a sticky mess (and you from tearing your hair out).
- Edible adhesive or water: Just a dab is enough to hold the caps together—but don’t go overboard, or you’ll have droopy mortarboards.
Tired of Takeout? 🥡
Get 10 meals you can make faster than delivery arrives. Seriously.
One email. No spam. Unsubscribe anytime.
Instructions
- Preheat and Prep:
- Set your oven to 350°F and get those cupcake liners in the tin. The smell of anticipation is a good motivator while you assemble the ingredients and measuring spoons.
- Mix Dry Ingredients:
- Whisk the flour, baking powder, and salt in a bowl; the sound alone reminds me something fluffy is on the way.
- Cream and Combine:
- Beat the softened butter and sugar until pale and hundreds of tiny air bubbles form, then blend in eggs one at a time so nothing curdles. Stir in that vanilla until you want to dip your finger in.
- Finish Batter:
- Add the dry mix and milk in turns—start and end with flour—just until you no longer see any streaks, for cupcakes that bake up tender.
- Bake:
- Fill each liner two-thirds full and pop the tray in the oven. Peek through the glass as they rise and your whole kitchen smells like a celebration.
- Cool Down:
- Let the cupcakes cool fully on a rack; warm cakes will melt buttercream and droop your pretty caps.
- Make the Buttercream:
- Whip butter until creamy, then add powdered sugar, milk, vanilla, and a pinch of salt. Mix until fluffy and sweetly irresistible—you’ll want to swipe a taste.
- Frost the Cupcakes:
- Either pipe pretty swirls or simply spread the buttercream with a knife. Both feel satisfying, but piping makes for extra festivity.
- Fondant Cap Assembly:
- Dust your counter with cornstarch, roll out black fondant, and cut out twelve small squares. Roll balls for bases, flatten, and attach each square with a tiny dab of water or edible glue.
- Make Tassels and Shine:
- Twist gold fondant into little ropes for tassels, press a dot as a button on each hat, and finish with a gentle brush of gold dust if you want some sparkle.
- Decorate and Serve:
- Gently perch each fondant cap on a swirled cupcake and step back to admire your edible graduation lineup.
 Save to Pinterest
 After snapping a group photo of everyone grinning with their cupcakes held aloft, I realized these treats had quietly become tradition. Somehow, between the vanilla scent, the sparkle of gold, and the hands dusted with sugar, the cupcakes transformed from a dessert into a centerpiece of celebration and connection.
Make-Ahead Tips for Busy Weeks
On weeks when life is a whirlwind of events, I’ve learned these cupcakes are friendly to make in stages: the cupcakes and fondant caps can be prepped the day before, letting the buttercream and assembly happen calmly on the big day. Fondant decorations like these are less prone to humidity struggles if you keep them in an airtight container overnight, rather than in the fridge.
Easy Ways to Personalize
Switch up the color scheme to match your school or occasion, or try chocolate cupcakes as a surprise twist—just keep the buttercream light so the fondant caps still pop visually. I’ve even swapped in dairy-free butter and plant milk for vegan friends, and no one guessed a thing.
Decorating Without Stress or Perfectionism
Let go of the need for every cap to look identical—honestly, their little quirks make the final display more endearing and unique. If you don’t have fondant tools, a paring knife and your fingers work just as well as any fancy cutter.
- If it’s warm out, chill your caps for a few minutes before putting them on the cupcakes.
- Keep extra gold dust handy—a last-minute sparkle covers any fingerprints.
- Above all, have fun and celebrate every imperfect creation.
 Save to Pinterest
 However you decorate these graduation cupcakes, there's no wrong way to mark a joyful milestone. Here's to edible celebrations and messy, memory-filled kitchens.
Frequently Asked Recipe Questions
- → How do I stop fondant from sticking while rolling?
Dust the work surface and rolling pin lightly with cornstarch or a bit of icing sugar. Turn the fondant frequently and lift gently as you roll to prevent sticking; a thin dusting avoids a dry, cracked finish.
- → What’s the best way to store assembled cupcakes?
Keep finished cupcakes in an airtight container at room temperature for up to a day. For longer storage, refrigerate and bring to room temperature before serving so the buttercream softens and the fondant regains pliability.
- → How can I get a vivid metallic gold on the tassels?
Brush a thin layer of edible gold dust over the gold fondant using a soft brush. For a brighter shine, mix a little gold dust with a clear food-grade alcohol or lemon extract, paint on, and let dry.
- → Can I make the caps ahead of time and how should I store them?
Yes. Allow fondant caps to dry slightly, then store flat in a single layer in an airtight container with parchment between layers. Keep them in a cool, dry place to avoid humidity softening the shapes.
- → Any tips for smooth buttercream piping?
Beat butter until very soft before adding powdered sugar gradually; stop when the buttercream holds shape but is still pipeable. If too soft, chill briefly; if too stiff, add a teaspoon of milk at a time.
- → What substitutions work for dietary restrictions?
Use dairy-free margarine and plant-based milk to make the cupcakes and buttercream vegan. Check fondant labels for gelatin or animal glazes; opt for vegan fondant if needed.