 Save to Pinterest
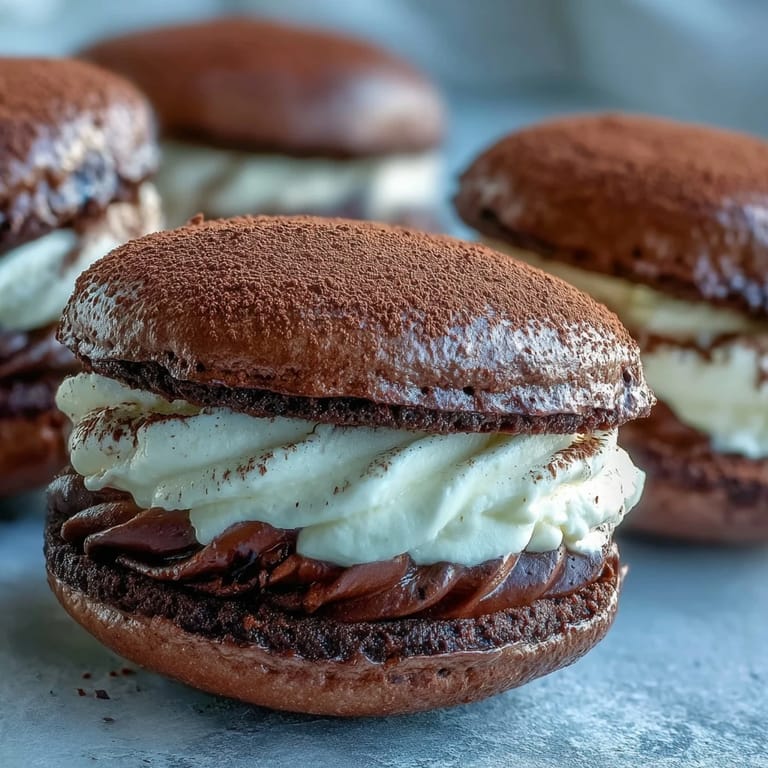
 My neighbor handed me one through the fence on a rainy Saturday morning, still cold from her fridge. I bit into it without asking what it was, and the sharp coffee cream hit first, then the soft cocoa cookie, and I actually laughed out loud. She called them tiramisu whoopie pies, and I made her write down everything that same afternoon because I knew I'd be thinking about them all week.
I brought a batch to a potluck once, and someone asked if I bought them from a bakery. I didn't correct her right away because I wanted to see her face when I admitted I made them in under an hour. That moment of disbelief is still one of my favorite kitchen victories.
Ingredients
- All-purpose flour: This gives the cookies their tender crumb without being too dense, and I always spoon it into the measuring cup instead of scooping to avoid packing it down.
- Unsweetened cocoa powder: Use the good stuff here because it is the backbone of the chocolate flavor, and cheap cocoa tastes flat and dusty.
- Baking powder and baking soda: The combination makes the cookies puff up just enough to stay soft in the center while holding their shape.
- Unsalted butter: Softened to room temperature so it creams smoothly with the sugar and creates that light, airy texture.
- Granulated sugar: Sweetens the cookies and helps them spread just a little, giving you that classic whoopie pie dome.
- Egg: Binds everything together and adds richness, and I always crack mine into a small bowl first to avoid any surprises.
- Vanilla extract: A warm background note that deepens the chocolate without overpowering it.
- Whole milk: Keeps the batter moist and tender, and I have tried it with skim milk once and regretted it immediately.
- Mascarpone cheese: The creamy, slightly tangy heart of the filling, and it must be cold or it will turn too soft to pipe.
- Heavy cream: Whips into the mascarpone to give the filling body and a silky, cloud like texture.
- Powdered sugar: Sweetens the filling without any graininess, and sifting it prevents lumps that ruin the smoothness.
- Instant espresso powder: Delivers that bold coffee punch without adding extra liquid, and I always keep a jar in my pantry just for this.
- Hot water: Dissolves the espresso powder so it blends evenly into the filling without leaving bitter specks.
- Cocoa powder for dusting: The final touch that makes them look bakery perfect and adds a little extra chocolate bitterness to balance the sweetness.
Tired of Takeout? 🥡
Get 10 meals you can make faster than delivery arrives. Seriously.
One email. No spam. Unsubscribe anytime.
Instructions
- Prep your oven and pans:
- Preheat the oven to 350°F and line two baking sheets with parchment paper so the cookies don't stick and they bake evenly. I learned the hard way that skipping parchment means scraping half the cookie off the pan.
- Mix the dry ingredients:
- Whisk together the flour, cocoa powder, baking powder, baking soda, and salt in a medium bowl until everything is evenly distributed. This step prevents cocoa clumps and ensures every cookie has the same flavor.
- Cream the butter and sugar:
- Beat the softened butter and granulated sugar together in a large bowl until the mixture is pale, fluffy, and almost doubles in volume. Then add the egg and vanilla, beating until smooth and glossy.
- Combine wet and dry:
- Add the dry ingredients to the butter mixture in three additions, alternating with the milk, and start and end with the dry ingredients. Mix gently until just combined because overmixing makes the cookies tough.
- Scoop the batter:
- Use a medium cookie scoop or tablespoon to drop 24 mounds of batter onto the prepared baking sheets, spacing them about 2 inches apart. Try to keep them the same size so they bake evenly and match up nicely when you assemble them.
- Bake until set:
- Bake for 10 to 12 minutes, or until the tops spring back lightly when you touch them with your fingertip. Let them cool on the pans for 5 minutes, then transfer to a wire rack to cool completely before filling.
- Make the coffee filling:
- Dissolve the espresso powder in hot water and let it cool so it does not melt the mascarpone. In a bowl, beat the mascarpone, heavy cream, and powdered sugar until smooth and thick, then fold in the cooled espresso and vanilla just until combined.
- Assemble the whoopie pies:
- Spread or pipe a generous dollop of the coffee mascarpone filling onto the flat side of half the cooled cookies, then top each with another cookie to make a sandwich. Press gently so the filling spreads to the edges without squishing out.
- Dust and chill:
- Dust the tops with unsweetened cocoa powder using a fine sieve for an even, professional finish. Refrigerate the assembled whoopie pies for 30 minutes before serving so the filling sets and the flavors meld together.
 Save to Pinterest
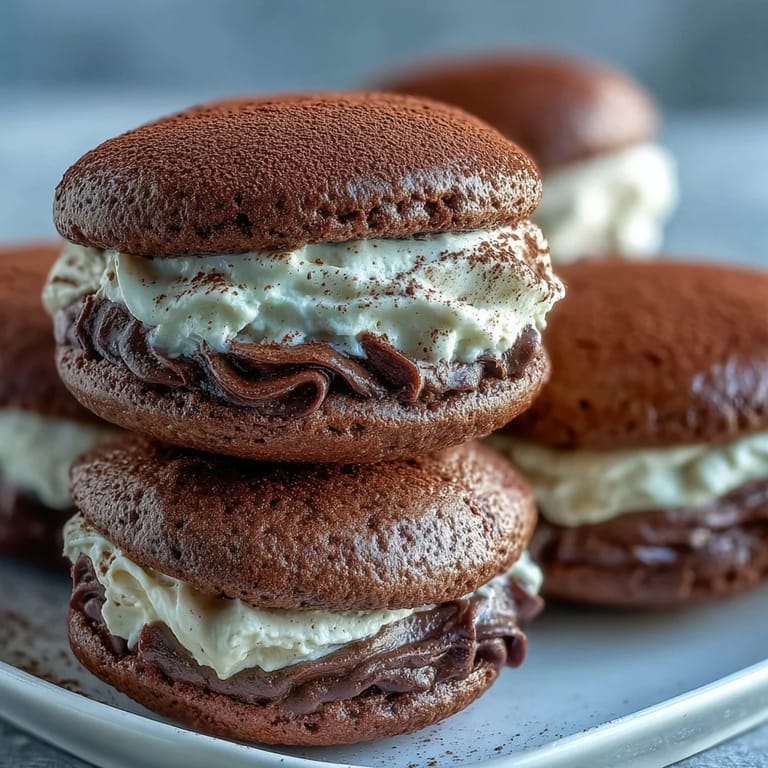
 The first time I made these for a birthday, someone said they tasted like the best parts of tiramisu without any of the sogginess. That is exactly what I was hoping for, and it is why I keep coming back to this recipe whenever I need something that feels special but does not stress me out.
Storing and Serving
These whoopie pies are best served cold, straight from the fridge, when the filling is firm and the cookies have softened just slightly from the moisture. I store them in an airtight container in the refrigerator for up to two days, though they rarely last that long in my house. If you are making them ahead, assemble them the night before and dust with cocoa powder just before serving so it does not get absorbed into the filling.
Flavor Variations
For a boozy twist, stir a tablespoon of coffee liqueur into the filling for that grown up tiramisu vibe. I have also swapped the mascarpone for cream cheese when I could not find it at the store, and while the flavor is tangier and less authentic, it still tastes delicious. You can even add a pinch of cinnamon to the cookie batter for a warm, spiced undertone that pairs beautifully with the coffee.
Make Ahead and Freezing Tips
You can bake the cookies a day in advance and store them in an airtight container at room temperature, then fill them the day you plan to serve. I have also frozen the unfilled cookies for up to a month, and they thaw perfectly at room temperature in about 20 minutes.
- Freeze the baked cookies in a single layer on a baking sheet, then transfer to a freezer bag once solid.
- Do not freeze the assembled whoopie pies because the filling does not thaw well and can become watery.
- Make the filling fresh the day you assemble for the best texture and flavor.
 Save to Pinterest
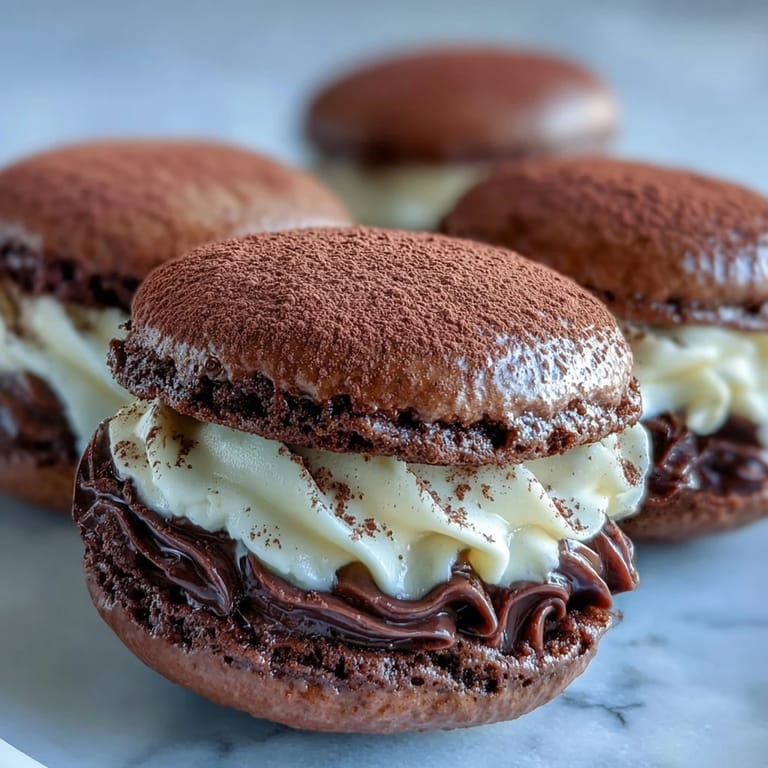
 These little sandwiches have a way of making any gathering feel a little more special, and I love how they look so fancy but come together so simply. Make a batch, dust them with cocoa, and watch people light up when they take that first coffee soaked, creamy bite.
Frequently Asked Recipe Questions
- → Can I make these whoopie pies ahead of time?
Yes, you can prepare these up to 2 days in advance. Store them in an airtight container in the refrigerator. The flavors actually meld beautifully overnight, making them even more delicious.
- → What can I substitute for mascarpone cheese?
Cream cheese works as a substitute, though the flavor will be tangier and less delicate. For a closer match, blend equal parts cream cheese and heavy cream until smooth before adding other filling ingredients.
- → How do I prevent the filling from being too runny?
Make sure your mascarpone and heavy cream are well-chilled before beating. Avoid overbeating, which can cause the mixture to separate. If still too soft, refrigerate the filling for 20-30 minutes before assembling.
- → Can I freeze these whoopie pies?
Yes, freeze unfilled cookies for up to 2 months in an airtight container. Thaw completely before filling. Assembled whoopie pies can be frozen but the cream filling may change texture slightly upon thawing.
- → How strong is the coffee flavor?
The coffee flavor is noticeable but balanced, complementing the chocolate cookies. For a more intense coffee taste, increase the espresso powder to 1.5 tablespoons. For milder flavor, reduce to 2 teaspoons.
- → Why are my cookies spreading too much during baking?
Ensure your butter is softened but not melted, and don't skip chilling the dough if your kitchen is warm. Spacing cookies 2 inches apart on the baking sheet also prevents them from merging together.