 Save to Pinterest
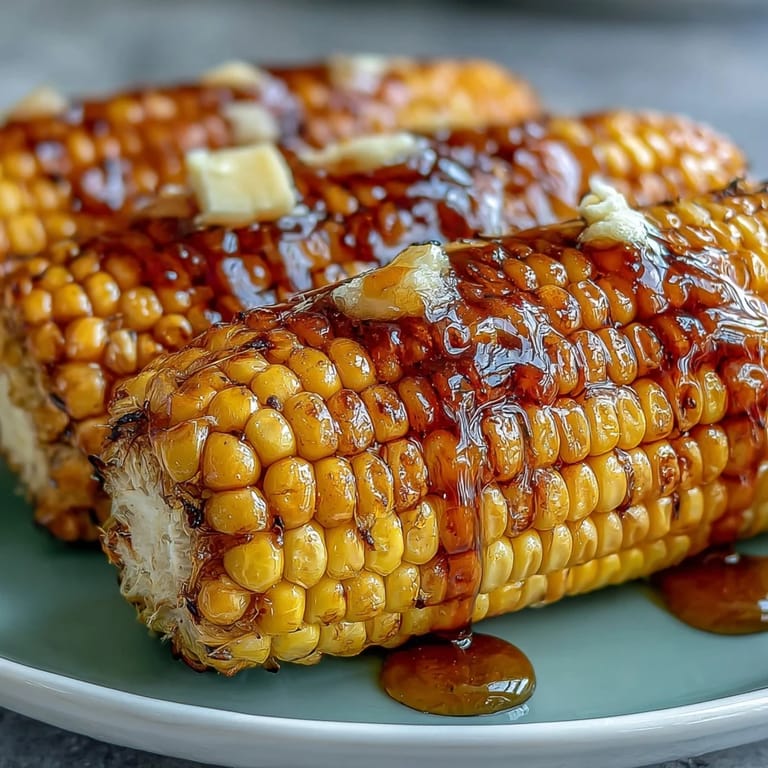
 My neighbor knocked on my door one July afternoon with an armful of corn from her garden, and I realized I had exactly seven minutes before guests arrived. While she chatted in my kitchen, I discovered that microwaving corn in its husk was the secret I'd been missing all those years of boiling pots and struggling with silk. Those tender, sweet kernels emerged perfectly in the time it took to set the table.
I served this at a weeknight dinner party where everything felt rushed, and someone asked if the corn was from a restaurant. Watching their surprise when I admitted it came straight from my microwave felt like a small victory, the kind that makes you realize the best kitchen discoveries often happen when you're not trying too hard.
Ingredients
- Fresh corn in husks: Look for ears with bright green husks that feel heavy for their size, as this means the kernels are plump and full of moisture.
- Butter: Unsalted lets you control the salt level, and it melts beautifully into warm corn.
- Salt and black pepper: Freshly ground pepper makes a real difference here, adding a slight bite that brightens the natural sweetness.
Tired of Takeout? 🥡
Get 10 meals you can make faster than delivery arrives. Seriously.
One email. No spam. Unsubscribe anytime.
Instructions
- Prepare your corn:
- If your corn still has its husks, you're already ahead. If it's been husked, wrap each ear snugly in a damp paper towel so it steams evenly without drying out.
- Arrange on the turntable:
- Place the corn directly on your microwave turntable with a little space between each ear so heat circulates.
- Microwave with confidence:
- Set the timer for 4 to 5 minutes on high power for two ears, adjusting for your microwave's strength and the number of ears you're cooking.
- Remove with care:
- Use oven mitts without hesitation because the corn and husk will be genuinely hot, and steam will release when you open the door.
- Let it rest briefly:
- A minute or two of cooling makes handling easier and lets the kernels finish setting to that perfect tender texture.
- Release the kernels:
- If cooked in the husk, cut off the stem end and gently squeeze the ear from the pointed end, and the corn practically slides into your hand.
 Save to Pinterest
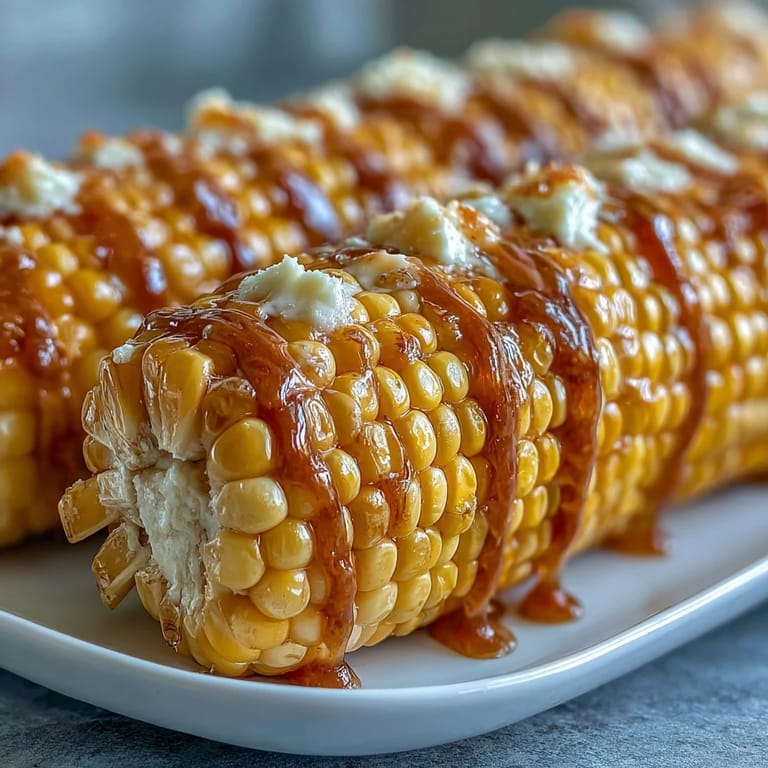
 My kid, who usually avoids vegetables, asked for seconds of microwave corn topped with nothing but salt, and that's when I realized I'd stumbled onto something that works for the whole family. Sometimes the simplest methods unlock the truest flavors.
Timing Tricks That Actually Work
The 4 to 5 minute window isn't arbitrary—it's the sweet spot where the kernels turn tender without becoming mushy. If your microwave is older or lower wattage, add an extra minute, and if you're cooking a single ear, knock a minute off and check it. Cooking in batches rather than stacking multiple ears ensures everything heats evenly and finishes at the same moment.
Flavor Beyond Butter
While butter and salt are the classic pairing, this is where you can get creative based on your mood or what you're serving alongside. Smoked paprika adds depth, a dusting of chili powder brings gentle heat, and grated Parmesan turns it into something almost indulgent. Lime zest and cotija cheese create a Mexican-inspired moment, while fresh herb butter with cilantro or tarragon feels elegant enough for company.
Making It Work For Your Kitchen
Corn preparation is wonderfully adaptable once you understand the basic principle: moisture plus heat equals tender kernels. Vegan cooks swap butter for olive oil or plant-based spreads without losing any of that satisfying richness. If you're feeding more than two people, cooking in two batches takes only a few extra minutes and guarantees everyone gets perfectly cooked corn rather than sacrificing quality for speed.
- Always use oven mitts because steam burns are real and surprising.
- Fresh corn keeps best in the refrigerator with husks on, so buy it the day you plan to cook it.
- If you have leftover cooked corn, cut the kernels off and use them in salads, pasta, or fritters within a day.
 Save to Pinterest
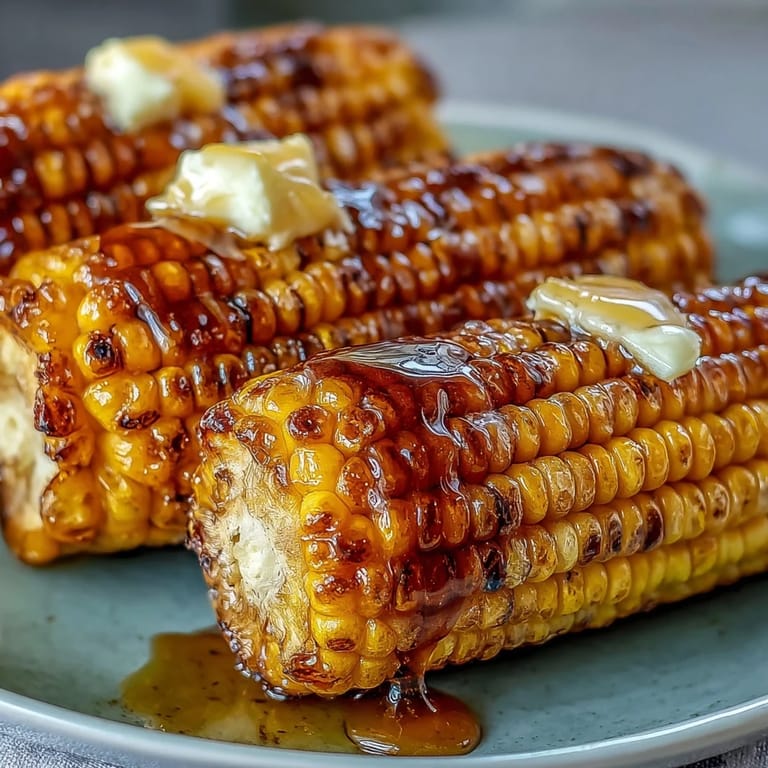
 Microwave corn has become my go-to when time matters and quality can't suffer, proving that the best cooking solutions are often the simplest ones. Your next dinner table deserves corn this good.
Frequently Asked Recipe Questions
- → How long does it take to cook corn in the microwave?
Cooking time ranges from 3 to 5 minutes depending on the number of ears. One ear takes about 3 minutes, while two take around 4 to 5 minutes.
- → Should the corn be cooked with husks on or removed?
Corn can be cooked in its husk for moisture retention or wrapped in damp paper towels if husked, both methods yield tender kernels.
- → What toppings work well with microwave-cooked corn?
Butter, salt, and freshly ground black pepper are classic options. For extra flavor, sprinkle smoked paprika, chili powder, or grated cheese.
- → How to handle cooking times for multiple ears?
Cook in batches for best results. If cooking more than two ears at once, increase cooking time by 1 to 2 minutes as needed.
- → Any tips for those using lower wattage microwaves?
Microwaves below 1000W may require longer cooking times by 1 to 2 minutes to achieve tender corn.