 Save to Pinterest
 My neighbor Sarah brought these to a block party on a sweltering July afternoon, and I watched people gravitationally pull toward her cooler with an intensity usually reserved for, well, free desserts. She caught me reaching for a third bar and just laughed, saying she'd thrown them together in under an hour. I went home determined to decode the magic, and turns out, magic is just organization—each ingredient layered like a promise that the next bite will be as good as the last.
I made a pan of these for my daughter's soccer team fundraiser, and the first batch sold out before I'd even set the second tray on the table. One parent asked if I used a secret ingredient, and I realized then that constraints sometimes create their own magic—when you've only got a handful of components, each one has to earn its place.
Ingredients
- Graham cracker crumbs: Use the store-bought variety if you want speed, but processing actual graham crackers gives you control over texture—I prefer mine with a few larger pieces for subtle crunch against the soft layers.
- Unsalted butter, melted: Melting it first means no cold spots in your crust, and it binds everything into a proper foundation that won't crumble when you cut.
- Semi-sweet chocolate chips: These are your anchor flavor; milk chocolate fades into the sweetness, and dark chocolate can feel a touch austere.
- Butterscotch chips: Optional, but they add a honeyed depth that makes people wonder what's different without being able to name it.
- Sweetened shredded coconut: Toasting it first in a dry pan for three minutes wakes it up, though untoasted works fine if you're pressed for time.
- Chopped pecans or walnuts: Toast these separately for two minutes—it's a small step that transforms them from dormant to alive, adding warmth and nuttiness that anchors the sweetness.
- Sweetened condensed milk: This is your binding agent and moisture keeper; it's what prevents these from drying out as they sit.
Tired of Takeout? 🥡
Get 10 meals you can make faster than delivery arrives. Seriously.
One email. No spam. Unsubscribe anytime.
Instructions
- Heat and prepare:
- Preheat your oven to 350°F and line a 9x13-inch pan with parchment paper—this step saves you from wrestling with stuck bars later. Grease works in a pinch, but parchment lets you lift the whole thing out once cooled.
- Build the foundation:
- Mix graham cracker crumbs with melted butter until it resembles damp sand, then press it firmly into the pan bottom using the flat bottom of a measuring cup. You want it compact enough that it holds together but not so dense it becomes tough.
- Pour the binder:
- Drizzle sweetened condensed milk slowly and evenly across the crust, letting it seep into the crumbs slightly before you add the next layers. This step determines whether your bars stay together or crumble.
- Layer with intention:
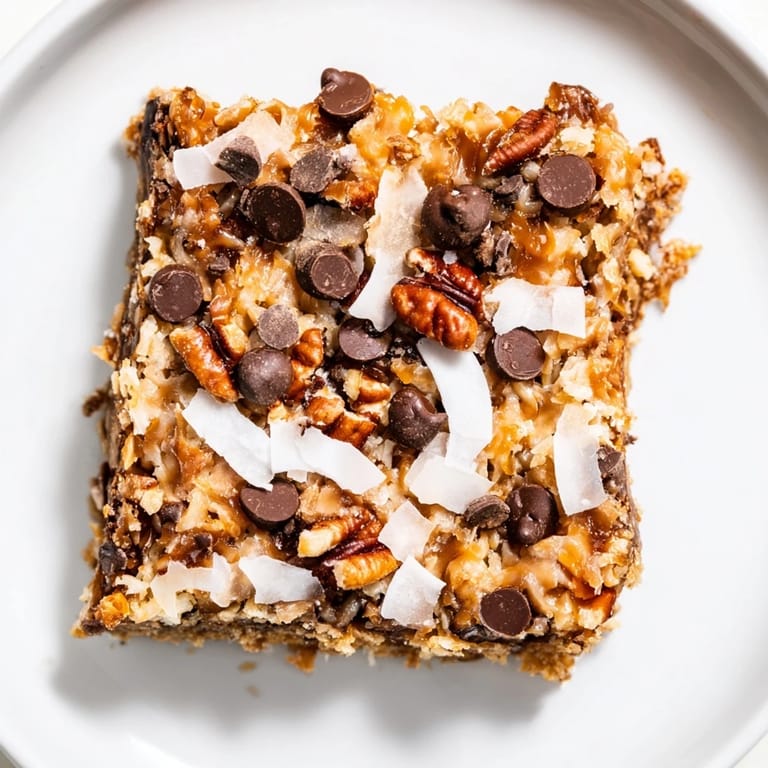
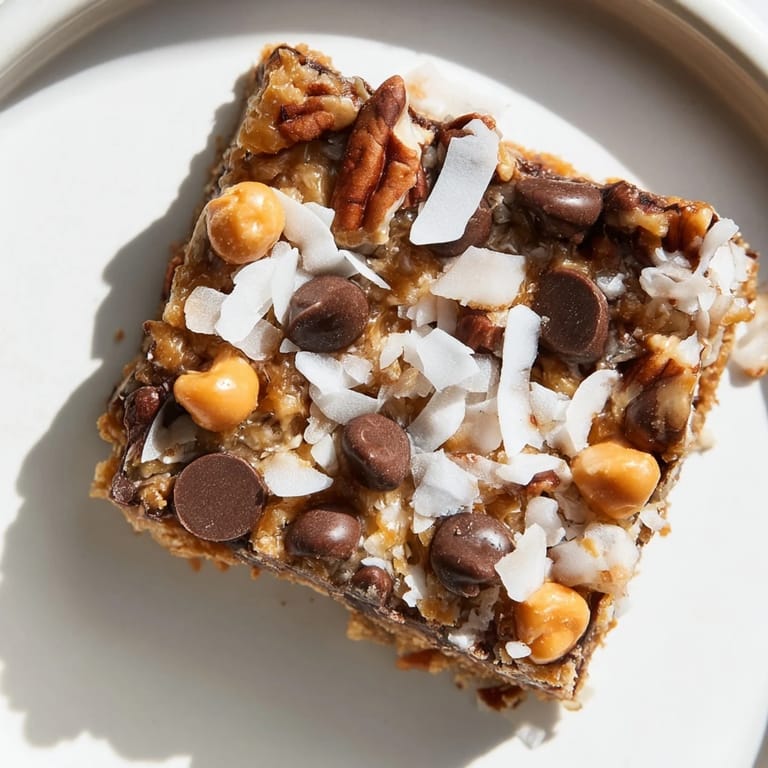
- Sprinkle chocolate chips first, then butterscotch, coconut, and nuts in even distribution—don't pile everything in one spot or you'll end up with some bars that are mostly chocolate and others that are sparse. Think of it like tiling a floor rather than decorating a cake.
- Gentle compression:
- Using the back of a spatula, press everything down with moderate firmness so the layers bond during baking without compressing so hard that the bars become dense and heavy.
- Bake until set:
- Bake for 25 to 30 minutes, watching for golden edges while the center still has a slight jiggle—it will continue to set as it cools. Overbaking means dry bars; underbaking means they won't hold their shape.
- Cool completely:
- Let them cool in the pan on a wire rack for at least two hours, or overnight if possible. Cutting warm bars is tempting but leads to crumbling; cold bars cut clean with a long serrated knife dipped in hot water and wiped between cuts.
 Save to Pinterest
 My son asked me once why these taste like a hug, and I think he was onto something—there's comfort in knowing exactly what you're going to get, in having someone show up with a pan of these at a moment when you needed something sweet. That's the opposite of a complicated dessert; that's showing up.
Why These Bars Work
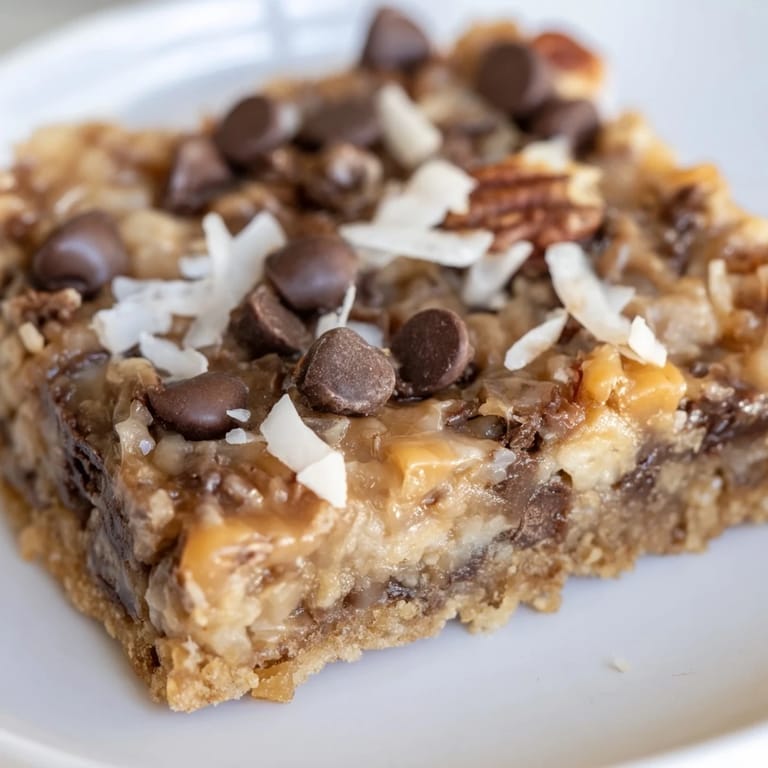
The architecture of Magic Cookie Bars is brilliant in its simplicity—everything gets held together by that layer of condensed milk, which acts as both moisture and glue. Each ingredient maintains its own identity while contributing to something unified, which is oddly philosophical for a dessert but absolutely true. The crust gives way to chewiness, the chips melt slightly, the nuts anchor with texture, and you're left with something that defies the usual either-or of crunchy or soft.
Customization Without Overthinking
The beauty of this recipe is that it's genuinely forgiving about swaps. I've tried white chocolate chips instead of butterscotch, thrown in crushed pretzels, even added a sprinkle of sea salt to one batch that caught everyone's attention. The condensed milk keeps everything bound regardless, which means you can play without fear.
Storage and Sharing
These last up to five days in an airtight container at room temperature, though they rarely make it that long in my house. I've also frozen them successfully for up to three months, which makes them perfect for preparing ahead before potlucks or unexpected visitors. There's something special about being the person who always has something good to share.
- Cut into clean portions with a hot, wet knife for presentation that looks intentional rather than hacked.
- Wrap individually in wax paper if you're bringing them anywhere—they stay fresh and people feel less guilty about taking extras.
- If you're feeling generous, a thin chocolate drizzle on top adds visual appeal and tastes like you spent way more effort than you actually did.
 Save to Pinterest
 These bars aren't about impressing anyone with technique—they're about showing up with something made with intention, something that tastes like care. That's worth more than complicated.
Frequently Asked Recipe Questions
- → What kind of nuts work best in these bars?
Pecans provide a classic crunch, but walnuts or almonds are great substitutes depending on your preference and availability.
- → Can I use other types of chocolate chips?
Semi-sweet chocolate chips are recommended, but white chocolate or butterscotch chips can be used for a different flavor profile.
- → How do I ensure the bars bake evenly?
Press the crust firmly and spread the layers evenly. Bake until edges are golden brown and the center is set for consistent texture.
- → What’s the best way to store these bars?
Keep them in an airtight container at room temperature for up to five days to preserve their chewy texture and freshness.
- → Is it necessary to use parchment paper?
Parchment paper helps prevent sticking and makes removal easier, but greasing the pan lightly works as an alternative.