 Save to Pinterest
 The first time I made cheesecake brownies, I was trying to decide between two desserts for a dinner party and realized I didn't have to choose. I stood in my kitchen staring at cream cheese and cocoa powder, wondering if combining them would be brilliant or a disaster. Turns out, it became the dessert everyone asked me to bring to every gathering after that. There's something magical about that moment when a risky kitchen idea actually works—when the fudgy and tangy suddenly become inseparable.
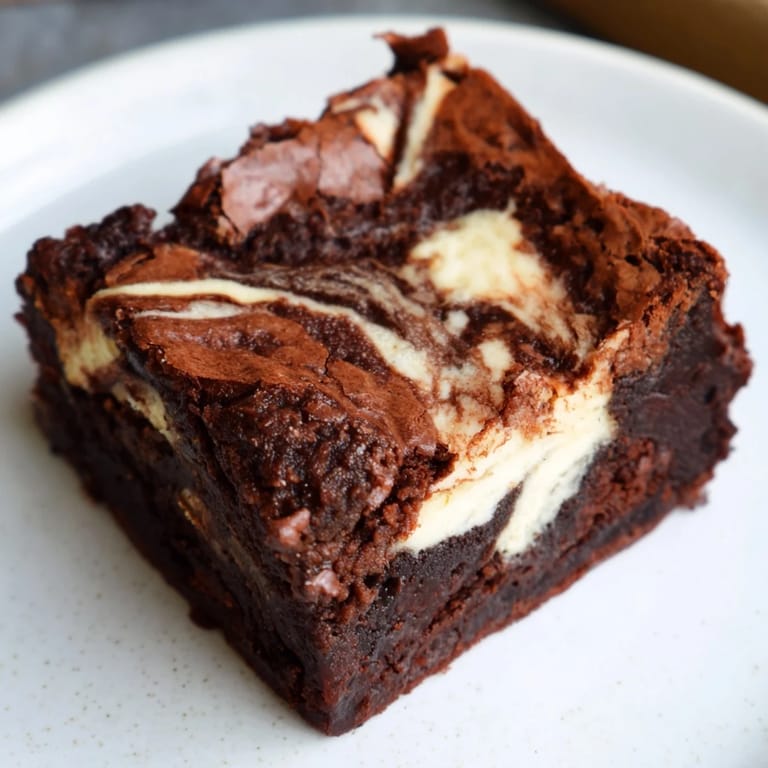
I remember pulling the first batch out of the oven and the smell nearly knocked me over—chocolate so intense it filled the entire house, but underneath it was that unexpected tang of cream cheese rising through. My husband actually stopped what he was doing to investigate. When we cut into them later and saw that marble pattern we'd created with just a knife, I knew this was going to become a regular thing in our kitchen.
Ingredients
- Unsalted butter (115 g): Melted butter is your foundation—it creates moisture and richness without needing oil, and the warmth helps it blend perfectly with the sugars.
- Granulated and light brown sugar (150 g and 100 g): The combination gives you both crispness and chewiness; don't skip either one or your texture suffers.
- Large eggs (2, plus 1 for cheesecake): Room temperature eggs blend more smoothly, so pull them out of the fridge while you're prepping everything else.
- Vanilla extract (1 tsp for brownie, 1/2 tsp for cheesecake): This bridges the chocolate and cream cheese flavors, so use the real stuff if you can.
- Unsweetened cocoa powder (65 g): Sift it in rather than stirring straight from the container—you'll avoid lumps and get a silkier batter.
- All-purpose flour (65 g): This is the only thing keeping the brownies from being fudge; measure carefully and don't pack it down.
- Salt (1/4 tsp): A tiny amount that makes the chocolate sing without being noticeable.
- Cream cheese (225 g): Let it soften at room temperature for at least 30 minutes so it beats smooth without lumps that refuse to break down.
Tired of Takeout? 🥡
Get 10 meals you can make faster than delivery arrives. Seriously.
One email. No spam. Unsubscribe anytime.
Instructions
- Set the stage:
- Preheat your oven to 175°C (350°F) and line an 8x8-inch baking pan with parchment paper, letting the edges hang over so you can lift the whole thing out cleanly later. This overhang is non-negotiable if you want neat squares.
- Build the brownie base:
- In a large bowl, whisk the melted butter together with both sugars until it looks smooth and slightly glossy, about a minute of actual whisking. Add your eggs and vanilla, whisking until the whole thing turns pale and ribbony—this is when air gets in and makes the brownies fudgy instead of dense.
- Fold in the dry goods:
- Sift the cocoa powder, flour, and salt over the wet mixture and stir gently with a spatula until just barely combined. Stop as soon as you don't see white streaks; overmixing here toughens the brownies and that's the opposite of what we want.
- Make the cheesecake layer:
- In a separate bowl, beat the softened cream cheese on medium speed until it's completely smooth and fluffy, about 2 minutes. Add the sugar, egg, and vanilla, then beat until creamy and absolutely lump-free.
- Layer and swirl:
- Pour about two-thirds of the brownie batter into the prepared pan and smooth it into an even layer. Gently spread the cheesecake batter over the top, then dollop the remaining brownie batter over that. Using a knife or skewer, make gentle zigzag motions through the batters to create that beautiful marbled effect—don't overthink it, the motion should feel almost casual.
- Bake to fudgy perfection:
- Bake for 35 to 38 minutes, until the center looks just barely set and a toothpick inserted comes out with a few moist crumbs still clinging to it. This is the hardest part because your kitchen will smell incredible and you'll want to eat them immediately, but patience here keeps them fudgy instead of cakey.
- Cool with restraint:
- Let them cool completely in the pan on a wire rack before even thinking about lifting them out and cutting into squares. Warm brownies fall apart; cool ones hold their structure and let you see those swirls.
 Save to Pinterest
 One afternoon, my daughter came home from school and the kitchen smelled like the bakery she'd been talking about. She took one bite and stopped mid-chew, then looked at me with this expression I'd never seen before—like she'd just discovered something she didn't know existed. That's when dessert stopped being just about sugar and became about moments.
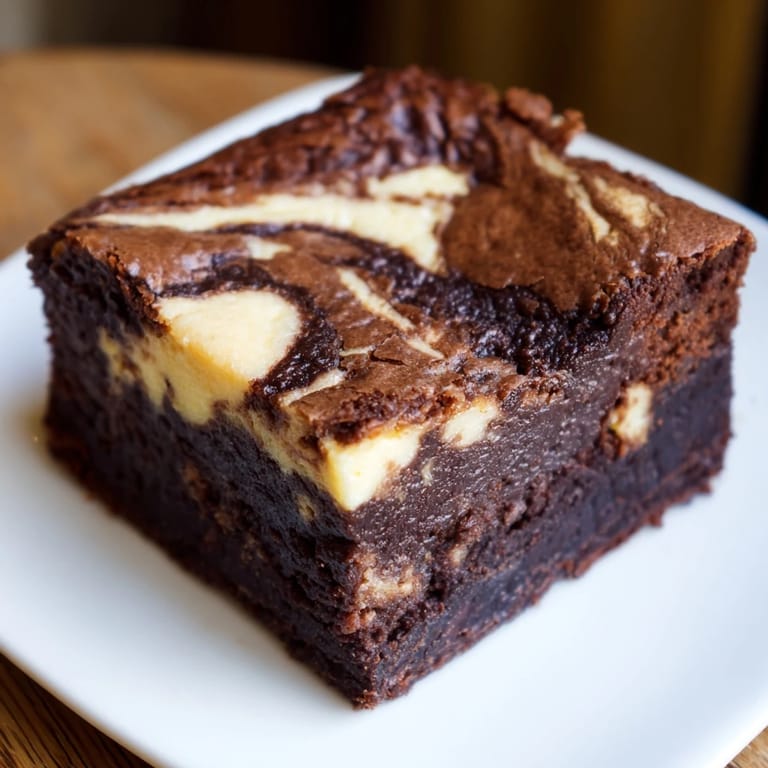
The Magic of the Swirl
The most important visual moment happens when you drag that knife through the batters. You're not trying to fully combine them; you're creating contrast and pattern that makes each bite a little different. Some people use a toothpick for delicate swirls, but I've found a regular table knife gives you just enough control without being precious about it. The goal is to create visual interest that makes people excited before they even taste it.
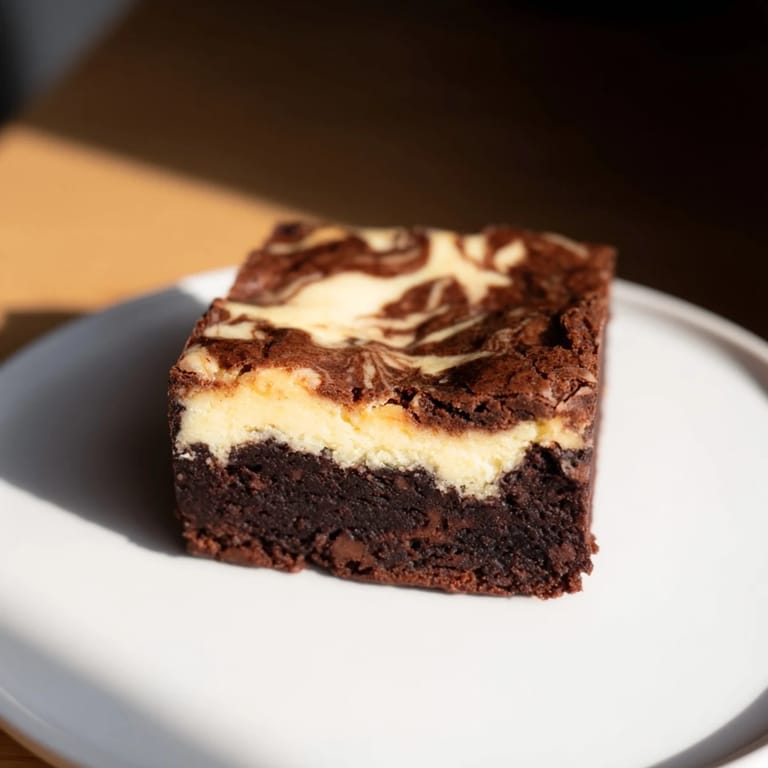
Temperature and Texture
These brownies change personality depending on temperature. Straight from the fridge, they're almost fudgy in a different way—firmer and more like a dense truffle. At room temperature, the cream cheese softens slightly and you get that ideal combination of structure and melt-on-your-tongue richness. I've served them both ways, and honestly, the right temperature depends on your mood and the season.
Make Them Your Own
The basic recipe is perfect as written, but this is actually a dessert that invites gentle creativity. Some people fold in chocolate chips for extra richness, while others add a hint of espresso powder to deepen the chocolate flavor without tasting like coffee. You could even press some crushed cookies into the bottom before the brownie batter if you wanted a hidden crunch layer.
- Fold chocolate chips into the brownie batter if you want extra decadence, but don't overload it or they'll sink to the bottom.
- A tiny pinch of espresso powder in the cocoa layer adds mysterious depth without anyone being able to identify what it is.
- These keep beautifully in an airtight container in the fridge for up to five days, though they rarely last that long.
 Save to Pinterest
 Every time I make these, I'm reminded that the best desserts are the ones that make people pause mid-conversation because something just tastes unexpectedly good. That's what cheesecake brownies do.
Frequently Asked Recipe Questions
- → What makes the swirl in these brownies?
The swirl is created by layering smooth, sweetened cream cheese mixture over half of the chocolate batter, then gently mixing the layers to form a marbled design.
- → Can I add chocolate chips to the brownie batter?
Yes, folding in chocolate chips adds extra richness and texture, making the brownies even more indulgent.
- → How do I know when these brownies are done baking?
Bake until the center is just set, with a few moist crumbs on a toothpick test. Avoid overbaking for a fudgy center.
- → What is the best way to serve these brownies?
They can be served chilled for a firmer texture or at room temperature for softer, fudgier bites.
- → How should leftovers be stored?
Store brownies in an airtight container in the refrigerator for up to five days to maintain freshness.